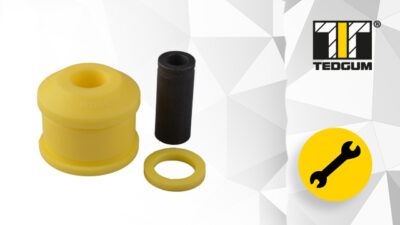
Installation of a rubber-plastic bushing (Manual #10)

We below present the correct replacement procedure of rubber-plastic bushing installation.

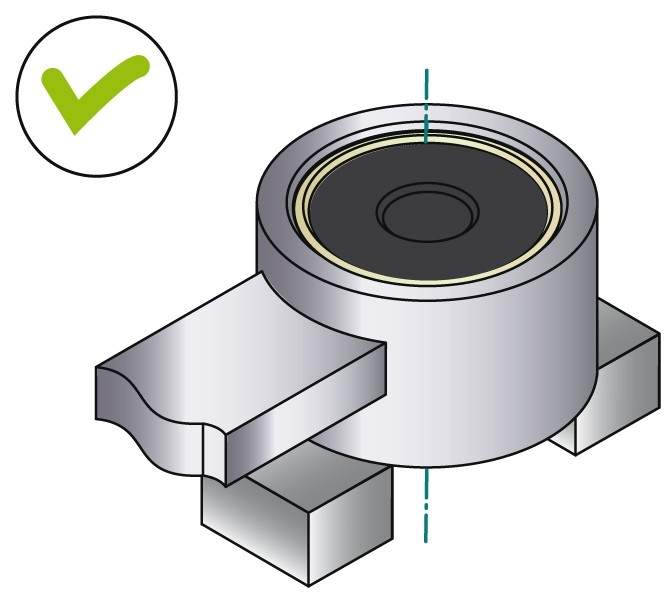
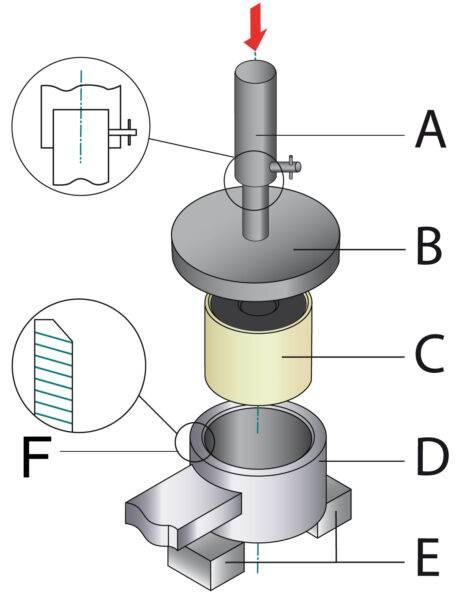
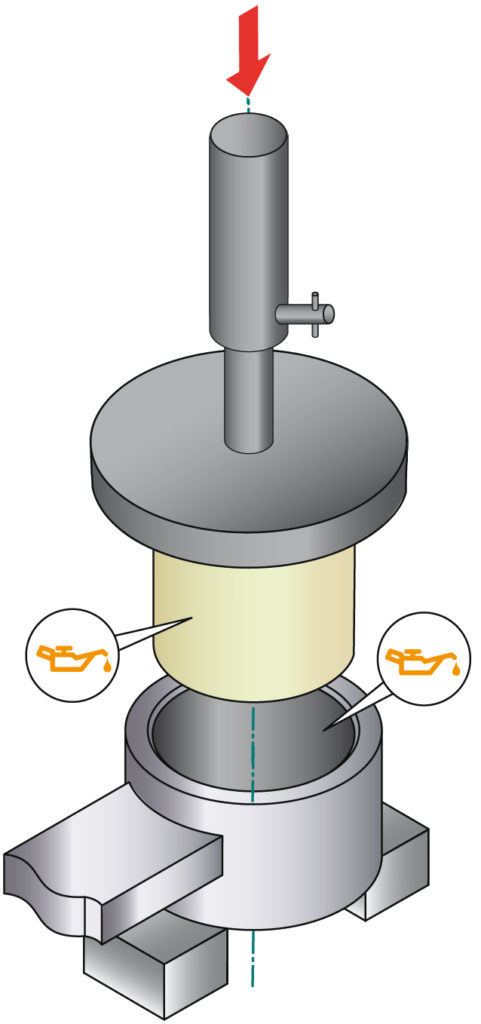
A – Directly in the socket

1
2
obraz Montaż Tulei Gumowo-Plastikowej 2a

3

obraz Montaż Tulei Gumowo-Plastikowej 3a
ikona smar

Lubricate here

A – press piston

B – metal plate

C – rubber-plastic bushing

D – socket

E – support pads

F – make chamfer on the socked

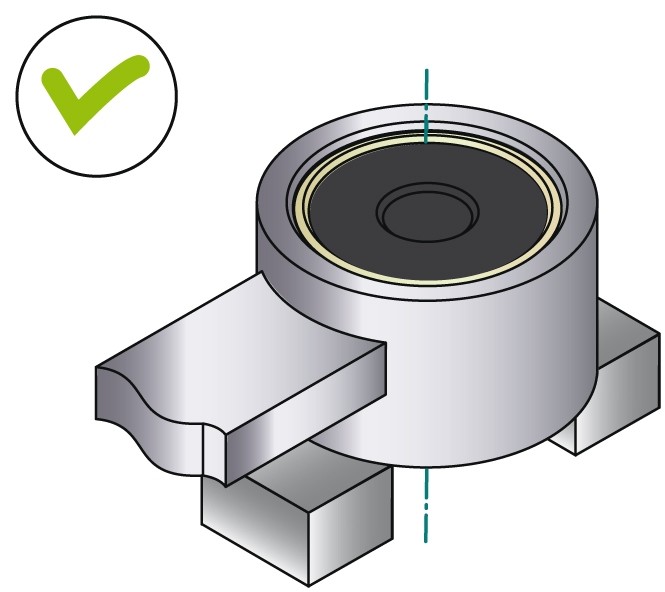
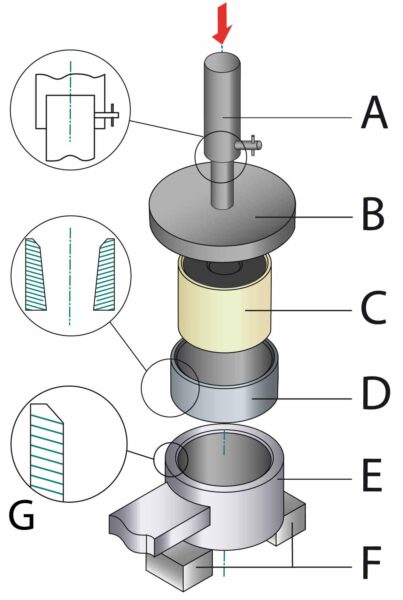
B – Using tapered sleeve

1
2
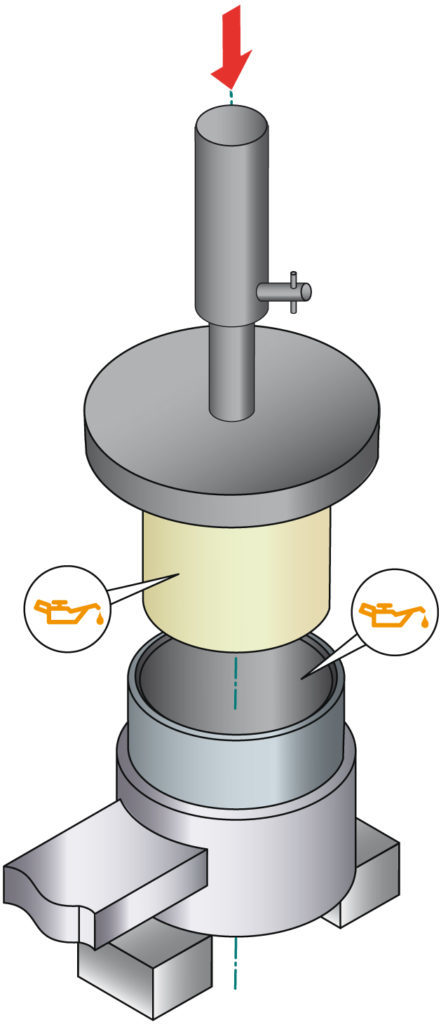
obraz Montaż Tulei Gumowo-Plastikowej 2b

3

obraz Montaż Tulei Gumowo-Plastikowej 3b
ikona smar

Lubricate here

A – press piston

B – metal plate

C – rubber-plastic bushing

D – tapered sleeve

E – socket

F – support pads
G – make chamfer on the socked

Manual shown above is just a presentation showing how the repair procedure can be made. TEDGUM® company does not bear responsibility for any errors in the manual and incorrect interpretation of the manual. Repair should be preceded by skilled personnel with the use of appropriate tools and with keeping all the safety means. All rights reserved.

Share on facebook
Share on twitter
Share on linkedin
Share on email

More in this category

Do you want to be informed? Subscribe to our newsletter !

We would like the use of our website to be comfortable for all users. This is possible thanks to the storage of cookies in the user’s browser and the processing of anonymous data for statistical purposes by TEDGUM Tadeusz Wojciechowski, based in Ruda Śląska 41-708, ul. Zabrzańska 22 and its Trusted Partners. Our Privacy Policy contains all information regarding the method and scope of data processing. The user may at any time ask for sharing and changing the data stored by the website administrator.