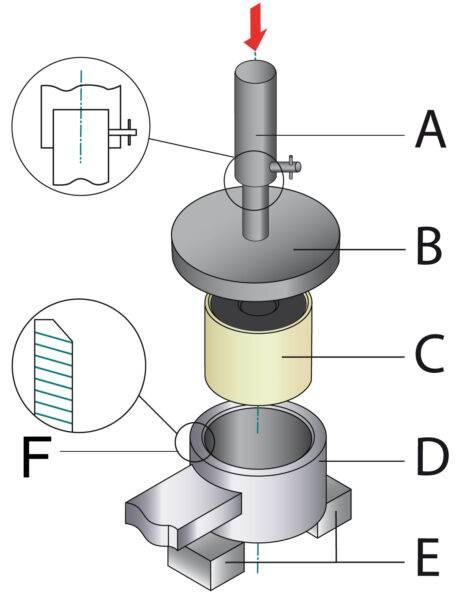
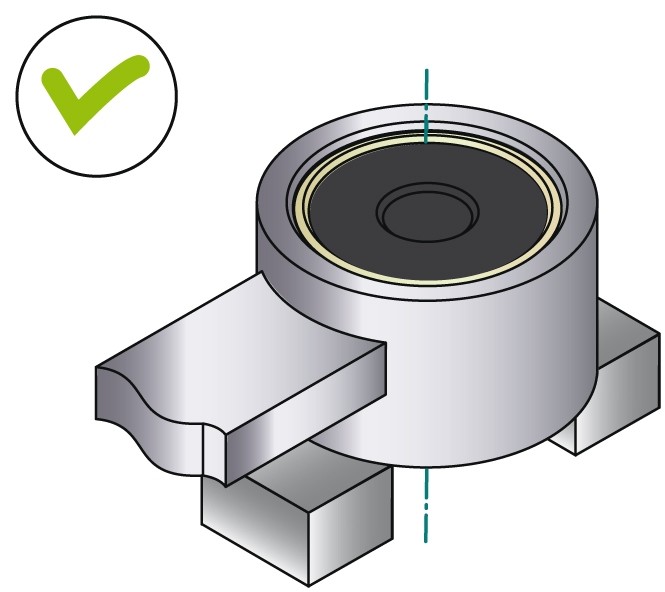
Poniżej prezentujemy prawidłowe sposoby montażu tulei gumowo-plastikowych.
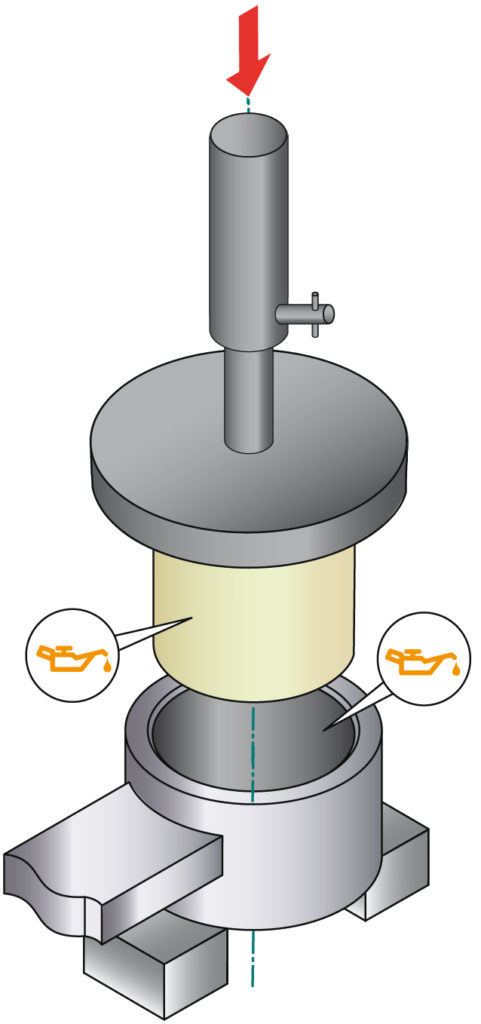
A – montaż bezpośrednio w gnieździe
1
2
3


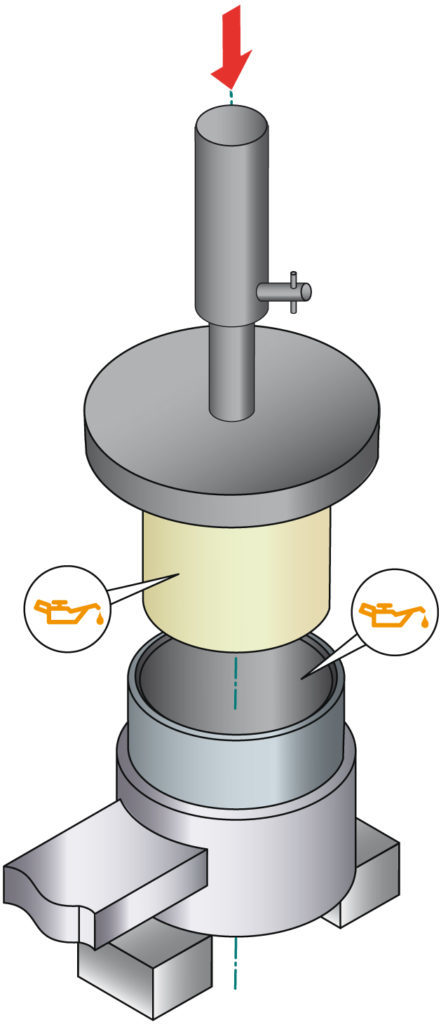
Posmarować smarem wskazane płaszczyzny
A – tłok
B – element metalowy
C – tuleja guma – plastik
D – gniazdo tulei guma – plastik
E – podkładki w postaci bloczków
F- wykonać fazę na gnieździe
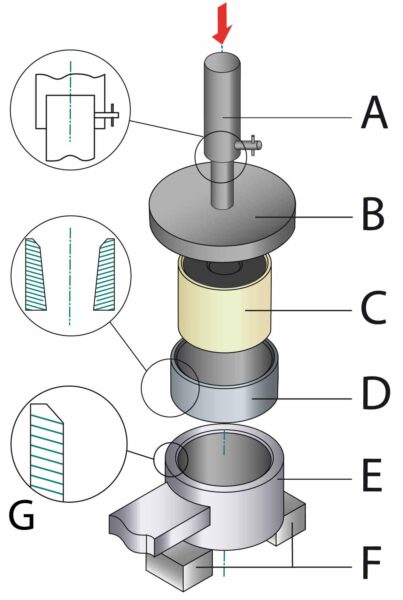
B – montaż z pomocą tulei stożkowej
1
2
3
Posmarować smarem wskazane płaszczyzny
A – tłok
B – element metalowy
C – tuleja guma – plastik
D – tuleja stożkowa
E – gniazdo tulei metal-guma
F – podkładki w postaci bloczków
G – wykonać fazę na gnieździe